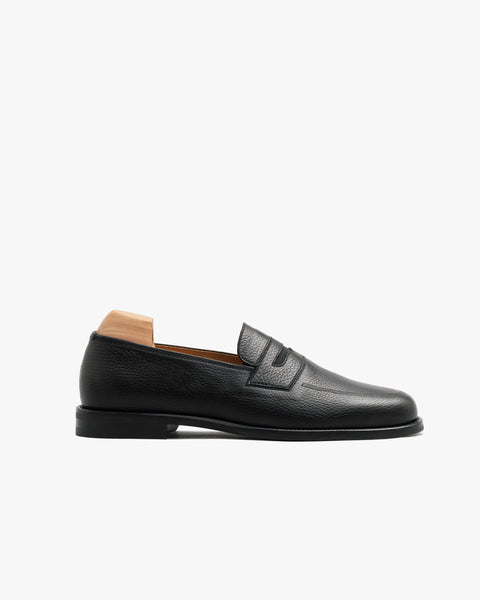
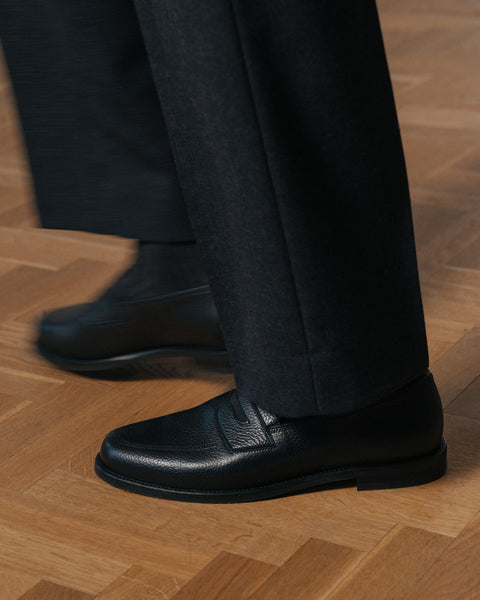
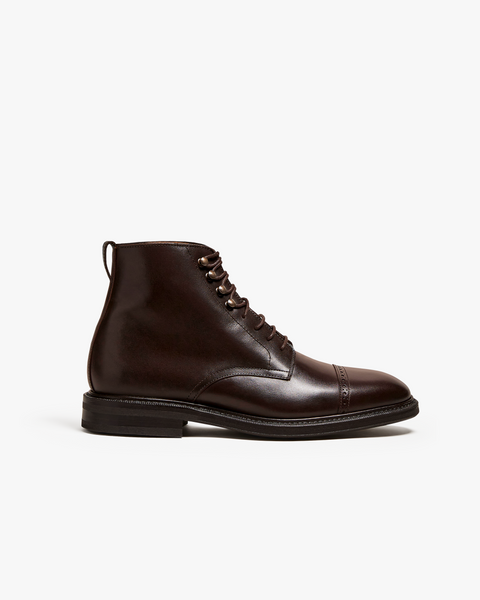
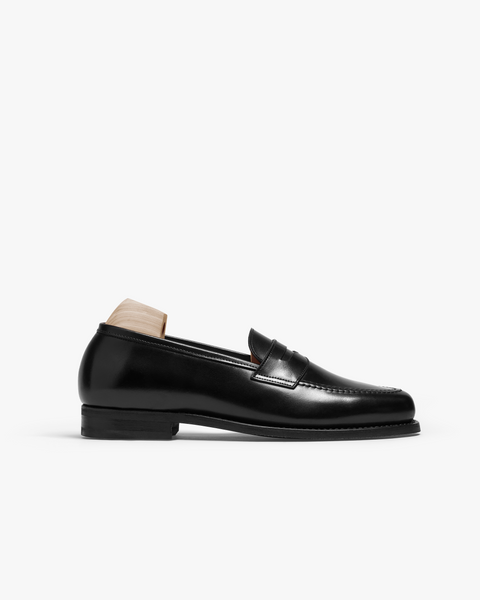


To polish shoes, work shoe cream over the whole shoe first — it feeds the leather and leaves a soft sheen. Then build the high gloss with hard wax, in thin coats on the toe and heel alone, buffed with a brush. Count on twenty minutes, most of it waiting for the cream to sink in.
Half the trouble with polishing is that one word covers two different products. Shoe cream soaks into the leather and feeds it, leaving a soft sheen. Wax stays on the surface and builds the gloss. They do different jobs, they belong on different parts of the shoe, and a surprising amount of shoe-care advice treats them as the same thing.
If a shoe has gone dull, cream is almost always what it's missing. If you want the toe to shine like glass, that's wax — many thin coats of it, on the parts of the shoe that can hold them. Twenty minutes covers the everyday version; the mirror is for evenings when you're not in a hurry.
Cream feeds, wax shines
Shoe cream is a blend of oils, fats and pigment. It sinks in, replaces the oils that wear pulls out of leather, and carries colour back into scuffs and faded patches. It leaves behind a soft, low sheen — leather that looks fed rather than lacquered. Wax is the opposite sort of product. It's mostly hard waxes, it doesn't sink in at all, and it sits on the surface as a thin shell against water and scuffs. The high gloss comes from that shell.
You'll sometimes read that cream adds no shine at all, and that only wax shines. That's wrong, and it matters, because it talks people out of the one product their leather actually needs. Buffed-up cream gives a true shine of its own — softer and lower than a waxed toe cap, but unmistakably a shine, and for most shoes on most days the better-looking one. Wax feeds nothing. It protects and it glosses; that's all it does.
Where each goes follows from what it does. Cream covers the whole shoe, because all of the leather needs feeding. Wax stays on the toe cap and the heel counter — the stiff parts that don't flex — because wax built up on the vamp cracks and flakes the first time the shoe bends. The order is fixed too: cream first, left to sink in, then wax over the top. Reversed, the wax seals the surface before anything has fed the leather underneath.
Start with clean, dry leather
Before the cream comes out, the leather needs to be clean and dry. Polishing fixes dullness, not dirt: grit caught under the cloth scratches the surface you're trying to shine, and cream laid over grime just seals it in. A ten-second brush is enough for a pair that's merely dusty. Anything more — mud, rain marks, salt rings, a winter's worth of old polish — is a cleaning job first, and we've written a full guide to cleaning leather shoes for exactly that. Come back when they're dry.
The everyday polish
The routine takes four things: cream, wax, a horsehair brush and a soft cloth. Unlace the shoes so the tongue and facing aren't hiding anything, slide shoe trees in if you have them so the leather holds its shape while you work, and start with a quick once-over with the brush.
Work in the cream
Take a little cream on the cloth and work it over the whole upper in small circles — a thin, even coat, into the seams and along the creases. Keep it thin: leather absorbs only so much, and everything past that sits on the surface doing nothing.
Let it sink in, then buff
Give the cream ten to fifteen minutes to absorb, then buff the whole shoe briskly with the horsehair brush until it comes up to an even, soft sheen. This is the shine cream gives — and for a lot of shoes, especially anything casual, you can happily stop here.
Wax the toe and heel
Take a little wax on the cloth and lay it over the toe cap and heel counter, letting each thin coat haze before the next goes on. Two or three coats is plenty for an everyday gloss. Keep wax off the vamp and the creases — it cracks wherever the leather flexes.
Brush up and finish
Brush the waxed areas briskly until the gloss comes up, then give the whole shoe a final pass with the soft cloth. Relace, and you're done.
The mirror shine
A mirror shine is the far end of what wax can do — so many thin layers over the stiffest parts of the shoe that the surface turns to glass. Two honest notes before the method. It's optional: a cream-fed shoe with two coats of wax on the toe is enough for almost everything. And it can't be rushed: set aside close to an hour the first time.
It only belongs in two places — the toe cap and the heel counter, the parts with stiffeners underneath that don't move when you walk. Keep it below the crease line and leave the rest of the shoe to its cream finish. Calf needs to breathe, and a hard gloss over a flex point cracks the first time the shoe bends.
- Start from the routine above, finished through the cream stage — clean, fed leather, buffed to its soft sheen.
- Lay a base: two or three slightly fuller coats of wax over the toe and heel, each left to haze, to level the tiny pits in the grain. A mirror needs a flat surface before it needs a shiny one.
- Build the shine in very thin layers — expect fifteen to twenty over the toe cap and ten to fifteen on the heel. Add a single drop of cold water to each, and work the wax in small circles under light pressure; the cold water is what sets it glass-hard.
- Buff between layers with a fine, barely damp cloth. Old nylon or a smooth silk tie beats terry cotton here — anything with texture undoes the levelling you've just done.
For the last few layers, switch to Saphir Mirror Gloss — a finishing paste made for exactly this stage — on just the areas you're shining, and stop when the toe holds a clear reflection. This is also the finish that makes a black calf oxford formal enough for black tie; the full dress code is in our guide to evening shoes.
Choosing the colour
Cream carries pigment, which is why it can bring a scuffed toe or a faded panel back to colour, and why the shade matters. Matched to the shoe, cream puts colour back into scuffs and evens out fading; that's the right call for black shoes and for anything visibly faded. Neutral has no pigment, so it feeds and shines without changing the colour at all — the safe choice for lighter browns and in-between shades. Our own shoe cream comes in black, dark brown and neutral; when in doubt between two shades, neutral is the safe answer.
How often, and the kit
Shop shoe careBrush for ten seconds after each wear — that alone keeps a pair presentable. Cream goes on when the leather starts to look dry rather than on a schedule; the conditioning cadence is in our leather care guide. Wax only when the toe has lost its gloss. Every coat stays thin: past what the leather can absorb, polish clogs rather than feeds.
The kit is small and lasts: a horsehair brush, a soft cotton cloth, a jar of cream in your colour and a tin of wax. A single jar will last you years of polishing. It also pays off longest on shoes that can be resoled — a Goodyear-welted pair takes new soles for years, and a fed, waxed upper is what makes each resole worth paying for.
The polishing kit
View all


A few questions that come up
Can you shine shoes without polish?
Up to a point. A brisk buff with a horsehair brush, or a damp cloth followed by a dry one, raises a temporary sheen from the leather's own surface. It costs nothing and it's better than nothing, but it doesn't feed or protect the leather, and it doesn't last.
Should you polish brand-new shoes?
Not with cream, at first — a good pair arrives conditioned from the tannery and needs nothing more than a brush before its first wear. A thin pass of wax over the toe before the first outing is cheap insurance against the scuff every new pair collects in week one. Bring out the cream when the leather first starts to look dry or the first creases set in.
How long does shoe polish need to dry?
Cream needs ten to fifteen minutes to absorb before you buff. Wax hazes in a few minutes, and each coat can be brushed up as soon as it does. Mirror-shine layers are the patient exception: give each one ten to fifteen minutes to set before the next.
Can you polish suede or nubuck shoes?
No — cream and wax crush the nap flat, and the damage is hard to undo. Both materials are cleaned dry and protected with a spray instead; we've covered them separately in our guides to cleaning suede and caring for nubuck.


